I remember making flower baskets using plastic wires on a unique looking frame (which had a circular ring and a broad handle at the top) in the late eighties. I am not sure whether we can get the same handle now as these hand-made flower baskets are long gone. In my place, I had seen many women carrying these Flower baskets filled with Pooja Flowers to temples. Even some used these to collect the flowers from their garden.
Recently, I tried to re-create the flower basket in a different way without a frame at the same time without losing it’s aesthetics of good look and feel as a flower basket. Instead of using plastic basket-making wire, I tried with Fish/Mat wire this time to get a different look and feel. I am quiet satisfied with the resulting Flower Basket, which I thought I should share it here with you.
Here is how the Flower Basket looks when it is completed:

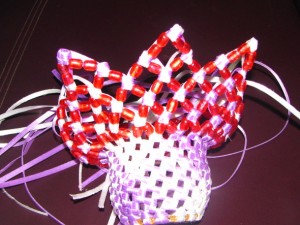
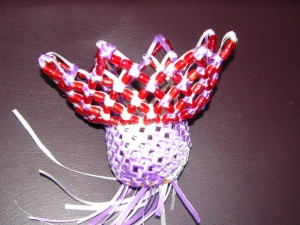
Flower Basket with handle
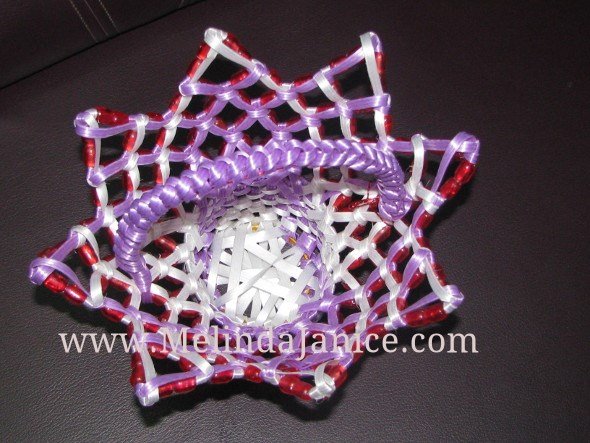
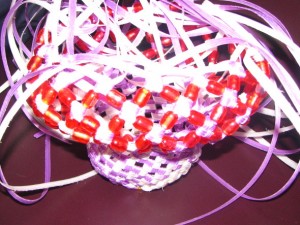
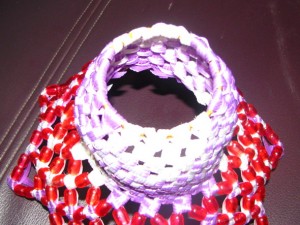
Flower Basket from the top
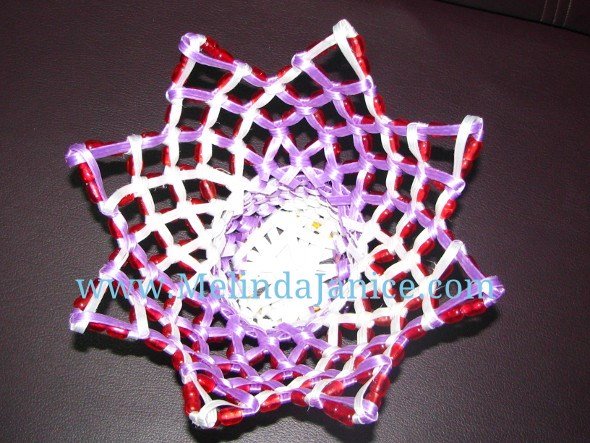
Flower Basket without handle
Materials Required:
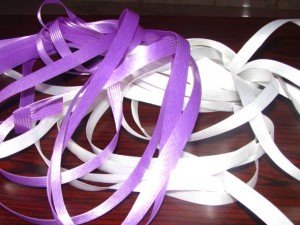
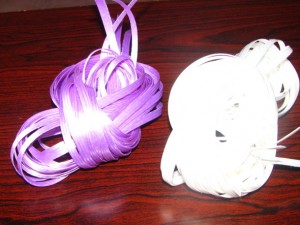
- Fish Wire or Mat Wire of 2 colors (You can have 1 or more colors). Here I have chosen pale violet and white fish wires.
- Beads with a larger hole. Here I have chosen red beads.
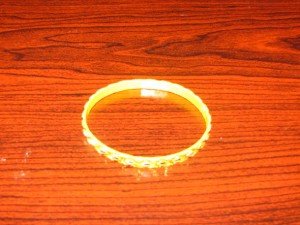
- Bangle – plastic or metal
- Scissor
- 22/24/26 gauge wire of 2 feet length approximately for making handle.
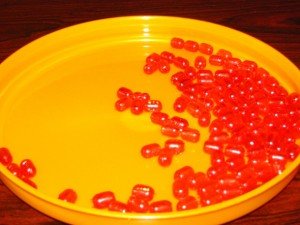
Red Beads
Instructions:
If you are new to basket making, I would suggest you read my earlier post ‘Making a Flower Vase using Plastic Wires‘, as this flower basket which I am showing here is based on that very same model to start with.
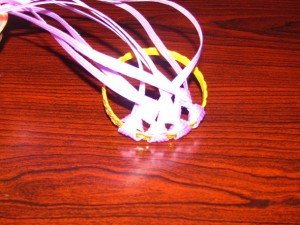
1. First measure a length of 5 feet in fish wire and cut it in one color. Like this, we need 4 wires in each color. So we should have 8 wires in total.
2. Usually the width of the fish wire is about 1 cm in width. Now we have to divide each wire into two halves along the length i.e. 0.5 cm each. To do this perfectly, hold the end of one wire, make a small cut using a scissor for about 1 inch length. Then pull the divided ends in opposite directions, you will get two halves easily. You don’t have to use the scissor for the entire length of 5 feet. After dividing each fish wire, there will be 16 wires in total now.
3. Fold one wire in to half and insert the folded end to form a loop. While holding the loop inside the bangle, take the loose ends over the bangle and insert into the loop and tighten it. This will form a knot around the bangle. Like this add one more wire next to this one. For diagrammatic explanation, please refer my earlier post.
4. Now we have to make one basket-knot by taking one wire from first knot and tying it with other wire from second knot. Refer the figures from my earlier post. Now add third wire to the bangle and put a another basket knot using the unused wire from the second knot and tying it with the one wire from the third knot. As these Fish wires are very smooth and difficult to hold firmly, we have to add the wires into the bangle one at a time. Go on like this with the rest of the wires.
To get a particular color pattern, like here for example, we need to add four wires in one color first, say violet for first four and for the next four wires, we have to add white wires. If we add two wires instead of four wires, then also we will get a different pattern. The choice is ours and how we want our pattern to look like. Experimenting with different patterns will give some idea.

5. For the second line, we have to hold two knots from the first line, horizontally, we should take one wire from one knot and the other from the second knot and again make a third basket knot above the two. We have to complete the second row by taking one wire from adjacent basket knots and making a basket knot above the two wires in the anti-clockwise direction until we complete the row in circular fashion. Like this we have to make 8 rows in total.
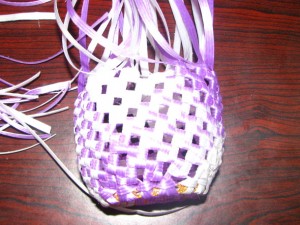
6. Now we have to add the beads by inserting a wire through the hole of a bead, by adding one bead in each wire. There will be 32 wires in total to which we need to add the beads.

7. After adding 32 beads to 32 wires, we have start to making the basket knots on top of each bead-wire pair by taking two wires at a time. Like this we have to complete one full row.
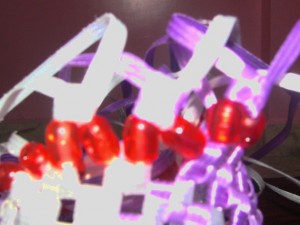
After completing one full row(circle), again we have to add the beads and start doing the basket knots. We can go on until we get the desired height. Here for this flower basket, I have added four rows of beads.
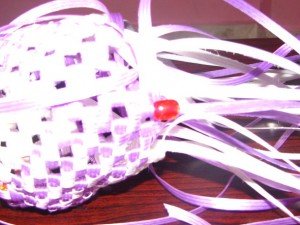
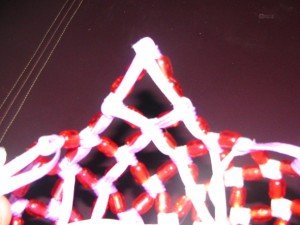
8. As a final step, now we have to add two beads in each wire and do the knot. Tuck the remaining wires inside the basket and trim the excess wire. Take the two adjacent wires and tuck in and trim the extra. This will look like a triangular peak at the top.
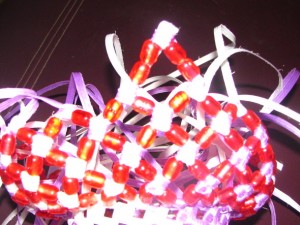
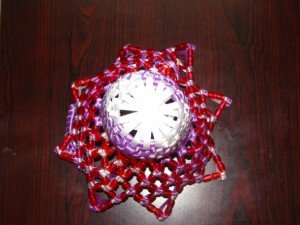
9. Like this we have do it for the rest of the wires. Now the basket will looks like the one in image below.

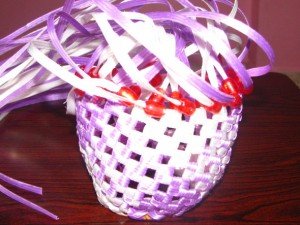
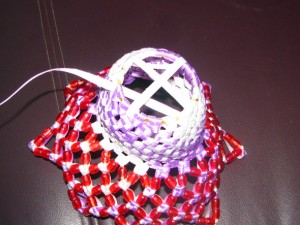
10. Since it is going to be a flower basket, there should not be any hole at the bottom. So I have found a new way to close this hole at the bottom. Take a long wire and start sewing by inserting the wire in the opposite directions several times. Tie the loose ends inside the flower basket and tuck and trim the extra wire lengths. Refer the images below.
11. The resulting flower basket will look like this.
Flower Basket without handle
12. I have added one fish wire handle too.
Flower Basket with handle
The handle shown here is very common one to be used in plastic wire baskets. Alternatively you can use satin ribbons or any wires or any leather strings for handle.
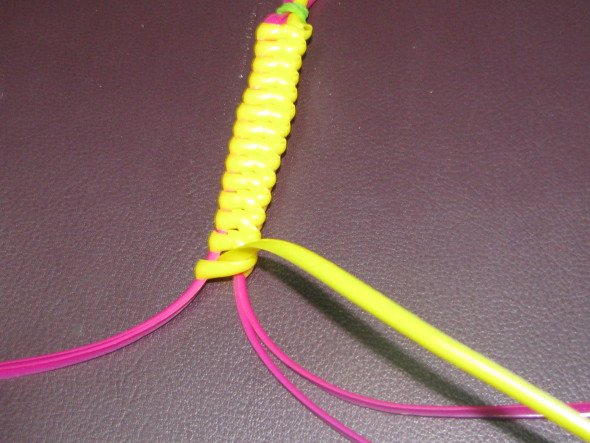
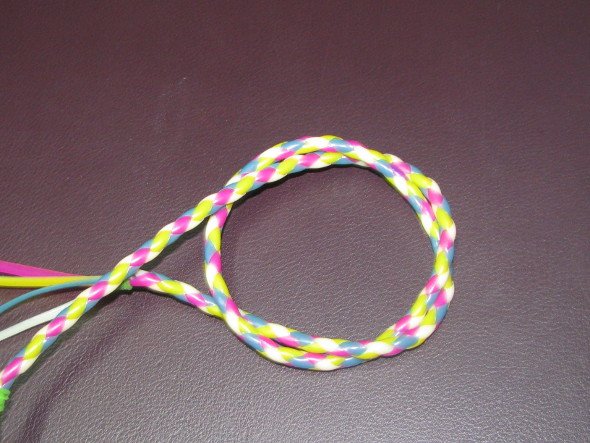
If you are really interested in making the handle shown here, then read my post of Handles for Baskets – Model 1 to get a clear idea.
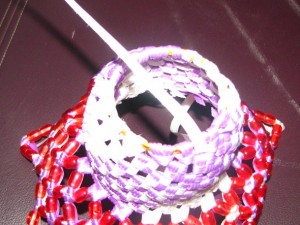
To get the stiffness, I have used a wire as the guide and I have woven around this wire using the fish tape. I am including few images here to give you some idea…