Flower Basket using Fish Wire:
This basket is woven using the cross-weave method which is always an easy and mess-free method in basket making.
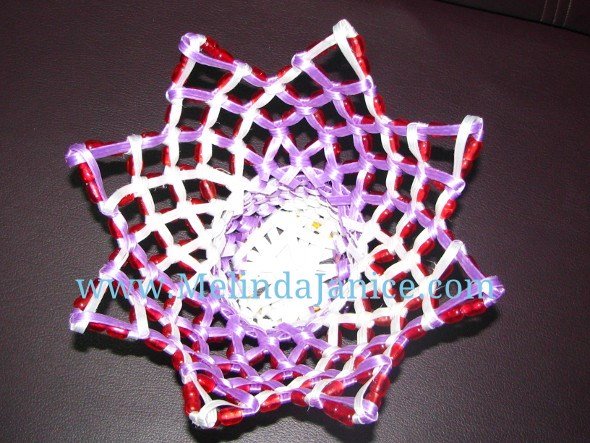
Flower Girl’s Basket

Flower Basket decorated with satin Ribbon
If you are familiar with basket-knots which we use in plastic wire baskets, then this flower basket will be super easy for you. For those who are new to this type of basket making, I am including few pictures explaining how to make this knot from scratch. Others can skip this step and move on to the materials required section.
Instructions for making a single basket-knot:
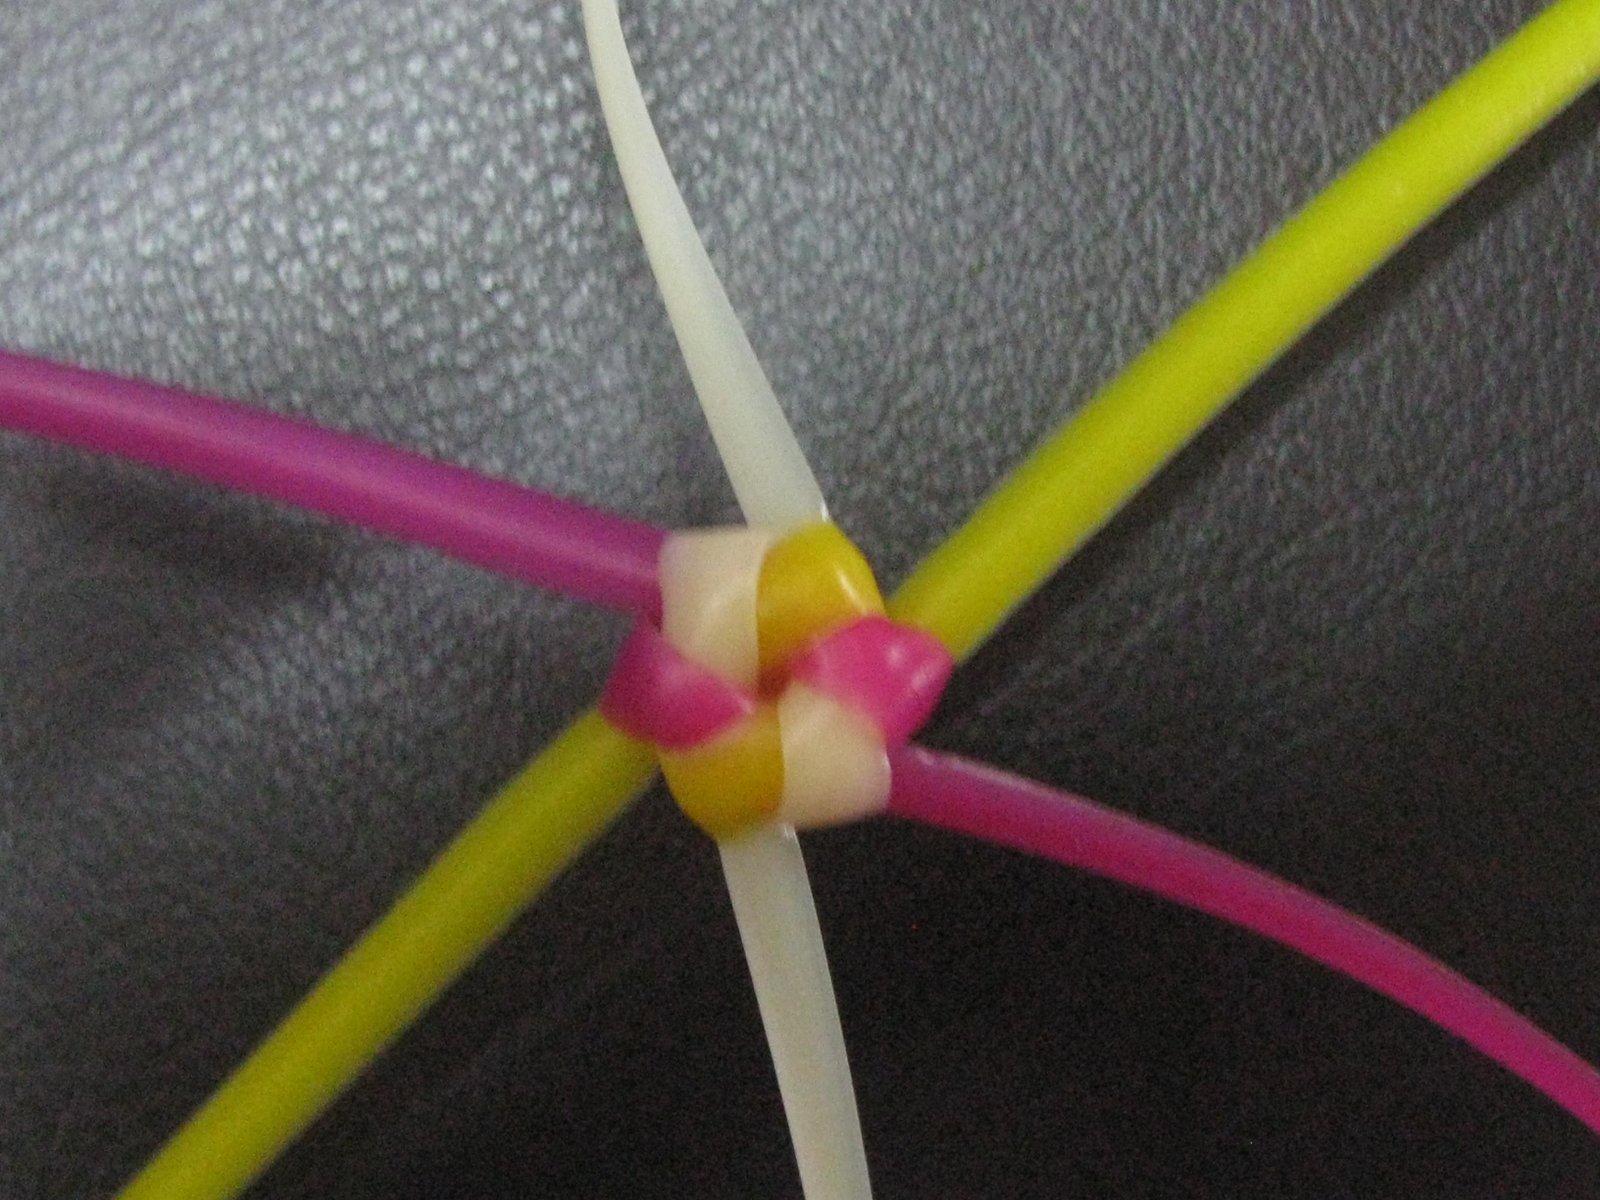
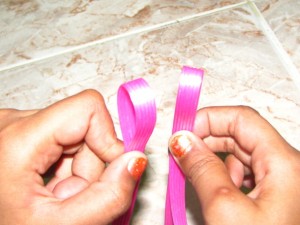
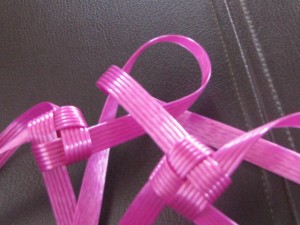
a. For making one basket-knot, you need two wires. Fold both the wires in half along their length to form a loop and hold each loop in each hand.
b. Take the right hand loop and bring it over the left hand loop or Insert the left hand loop into the right hand loop. Do whichever is easy for you.
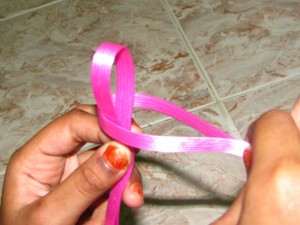
c. Hold both the loops tightly, bring the back wire of the left hand loop over the right hand loop by folding it.
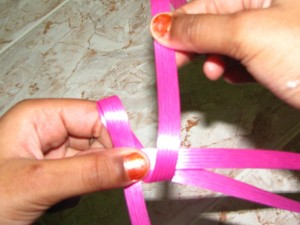
d. Now grab the back wire of right hand loop and insert it into the loop of left hand wire.

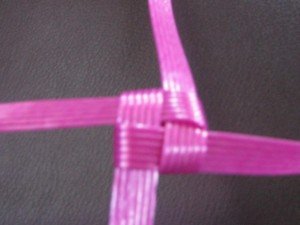
e. Tighten this knot. There you have it, your first Basket-knot.
Materials Required:
- Fish Tapes (at least three packets) for making basket – two colors preferably.
- One head band for making handle.
- Satin Ribbon, artificial pearls, Satin Roses, artificial leaves – for decorating the basket.
- Hot Glue gun, Scissor, Ruler – the usual craft making stuff.
Instructions:
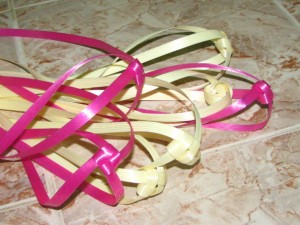
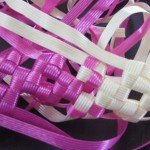
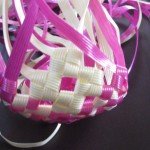
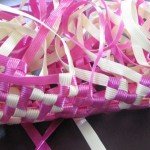
1. Measure and cut a length of 5 feet from the fish tape wire bundle. You would require 18 wires of this length to complete this basket. Regarding color and pattern, its up to you. For the above pattern, I have used 10 wires of pink and 8 wire of cream color.
2. Take two wires at a time and make one basket-knot. Like this, start making knots with the rest of the 16 wires. When you are done, you will be left with 9 basket-knots. According to my design, there will be 5 pink knots and 4 cream knots.
3. Now take two knots from 9 knots that we made earlier and make a new knot above these two by taking one wire from each knot, just like in the image below.
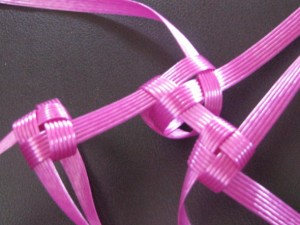
4. Since we have used up two knots already, we are left with 7 more knots. Take one knot from the 7 and attach it to the above knots by making a new knot in between this 3rd knot and 2nd knot. Refer the picture below.
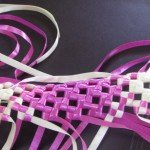
Like this you have to do for the rest of the 6 knots. Once when you are done adding all the 9 knots, you will get two lines of knots one over the other. The center line where we have added the independent knots, has 9 knots and the second line has 8 knots which are newly added by making use of the 9 knots.


Note:
For this flower basket, I have added all five pink knots at the center and two cream knots on each side. Anyway you can arrange these knots as per your wish. As these fish tapes are very silky and smooth, at times you may find it hard to hold them tightly. Don’t worry about that it will be alright when start making more knots.
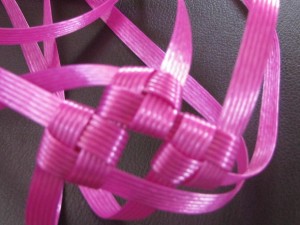
5. Now turn this, upside down i.e keep the center line with 9 knots at the top and 8 knot line at the bottom. Take one wire from the first knot and another wire from second knot, tie these to form a new knot above these two knots. Continue to make new knots along the line.


6. Now you will be having one center line with 9 knots and two lines of 8 knots each, above and below the center line.
Like this you have to add two more lines above and below. So in total there will be 7 lines including the center line. This will form the base of the flower basket.
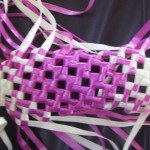
7. Now its about time, we make the four corner knots. Lets start with the one side. For making corners, you have to take one wire of the last knot from the top most line and another wire from the last knot of the line below it. Here it is two pink wires from top and another two pink wires from the line below it.
I have tied these two wires for better clarity. Refer the figure below. Make a new basket knot with these two wires.


8. Repeat the same for all four corners. After making four knots at the four corners, the basket will look like this in the figure below.
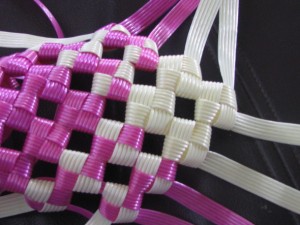
9. After finishing up with the four corners, we need to give the basket some height. For this, we need to keep on making more knots by using two adjacent wires at a time. Make knots until you get the required height.

Note:
Since this is cross-weaving, you can start the weaving from anywhere and go on making the making knots diagonally. But make sure that you are making same number of knots all the sides when you are done.
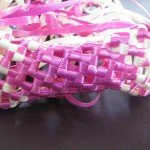
10. Now tuck these extra wires inside. In cross-weaving, you have to tuck the wires diagonally inside the basket to hide these wires from being seen from outside. Trim after tucking the remaining length if at all any.


11. For the handle, we need one head band. Here I have used a broader type head band. You can use whatever type you can get hold of. Now insert this band in to the two long sides of the basket (inside).


12. For weaving the handle, follow my instructions from my post Plastic Wire Handles For Baskets – Model 2 which has a very detailed instructions for making this handle.
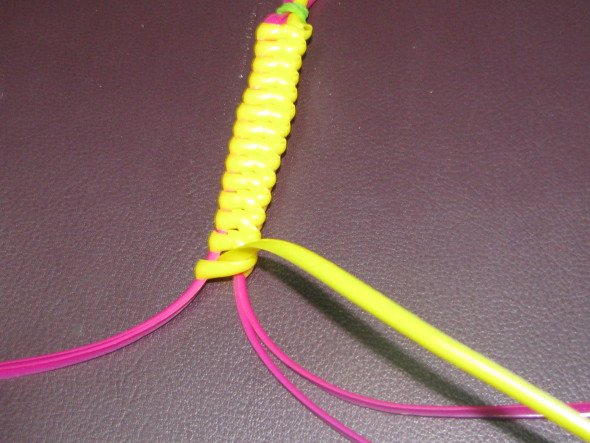
Cut two wires of 4 feet length, insert them from outside and bring it out over the band in such a way that you get four wires of equal length(two on each side of the band) as shown here. Now we have to weave around the band using these wires starting from one end and proceeding towards the other end of the band. After reaching the other end, tuck the end wires inside and trim the remaining. Apply hot glue if necessary.


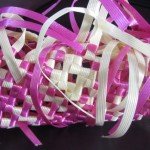
13. Now comes the fun part: the decoration. In the figure below, I have added a satin ribbon around the basket near the top. Also I have pasted two shades of satin ribbons inside the head band.


14. To the handle, pasted few pearls using the hot glue gun.


15. you can stop here or try experimenting with different materials like I did below.
- I have pasted few satin roses and leaves (which can be purchased from craft stores) on the basket.
- Alternatively, you can make these roses yourself if you have satin ribbons. I will do a separate post on how to make these Satin roses later.
- Added few beads to nylon wires and applied hot glue to keep them together. Pasted these nylon beaded wires to the bottom of these satin roses.


Now the basket is complete with all the beads and decor stuff.
This flower basket can be used in many ways for example, this can be used as a Flower Girl Basket in a wedding.
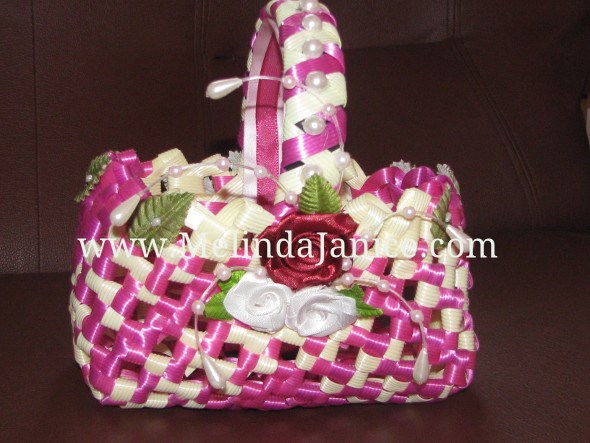
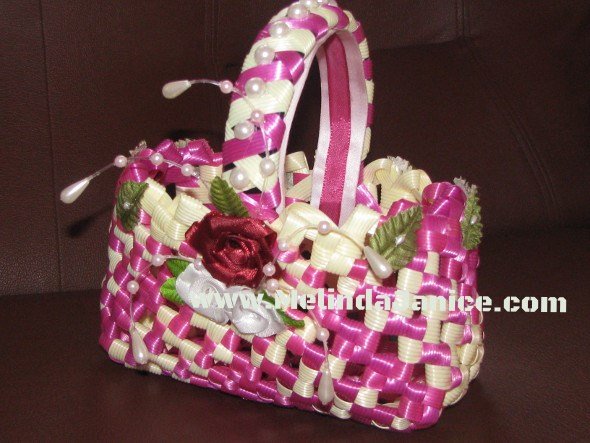
Flower Basket with all the Beads and Roses