Recently, me and my daughter made a pot by making use of modelling clay for her school project. We had a lot of fun in shaping the clay into animals, flowers and then finally settled for a small flower pot. We painted the pot with bright poster colors. Here is the pot we made…
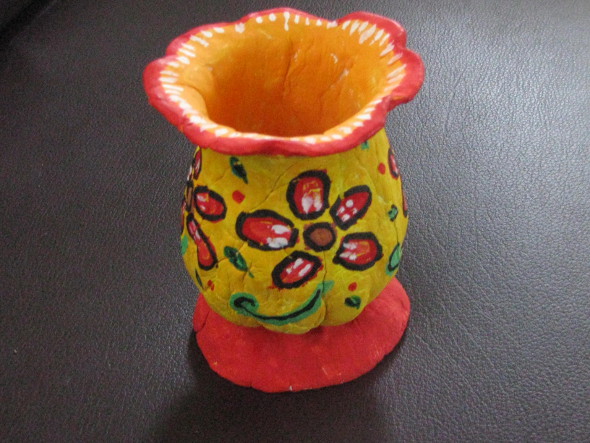
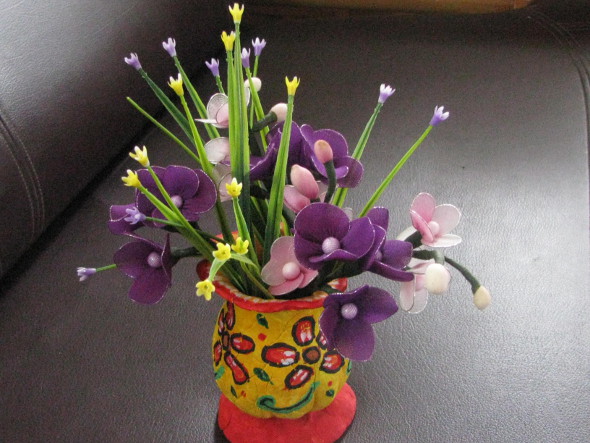
Clay Pot with Flowers
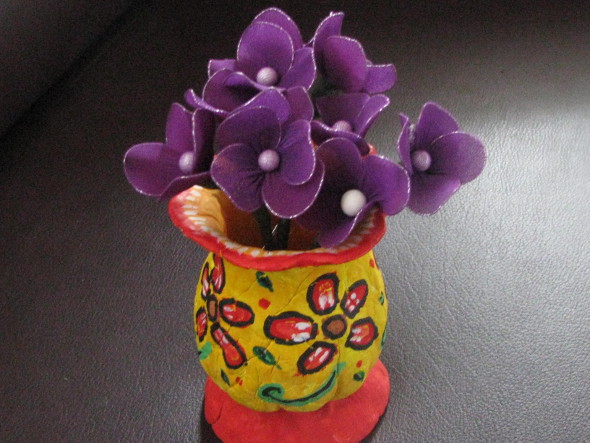
Clay Pot with Stocking Flowers
Materials used:
Air-Drying Modelling clay (White), Poster paints.
Steps:
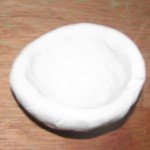
- Took a lump of clay and shaped it in to a ball.
- Then pressed the ball in the middle to form a flat bowl shape.
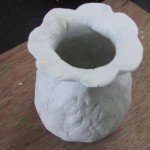
- Shaped the edges to form the wall of the pot
- Added the base using another strip of clay.
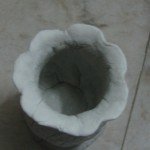
- Left it on the open for drying.
- Painted the pot with the base coat of yellow.
- Drew some flowers and leaves on itusing bright colors.
Note:
Always choose a model pot anything like real vases or images for your design. It will be easy for the kids to visualize their design and work that without much difficulty.
You can see the progress in the below pictures.
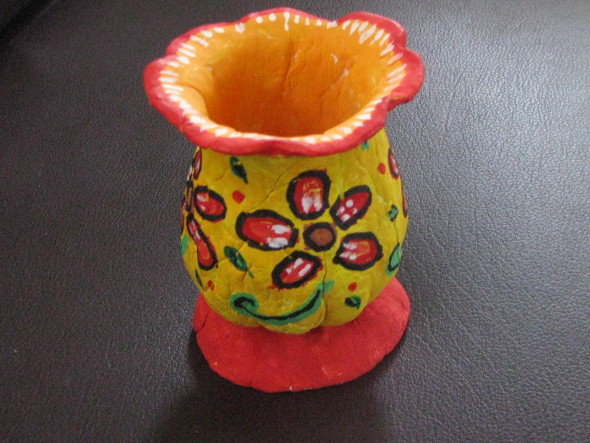
Completed Clay Pot


