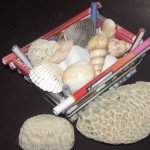
Following is a simple multipurpose paper basket, made using old news papers! It is a super easy project for kids, which they can complete it in a hour or two without much help. These baskets will make a nice container for keeping many things like shells, crayons, pebbles etc. on the kids table.

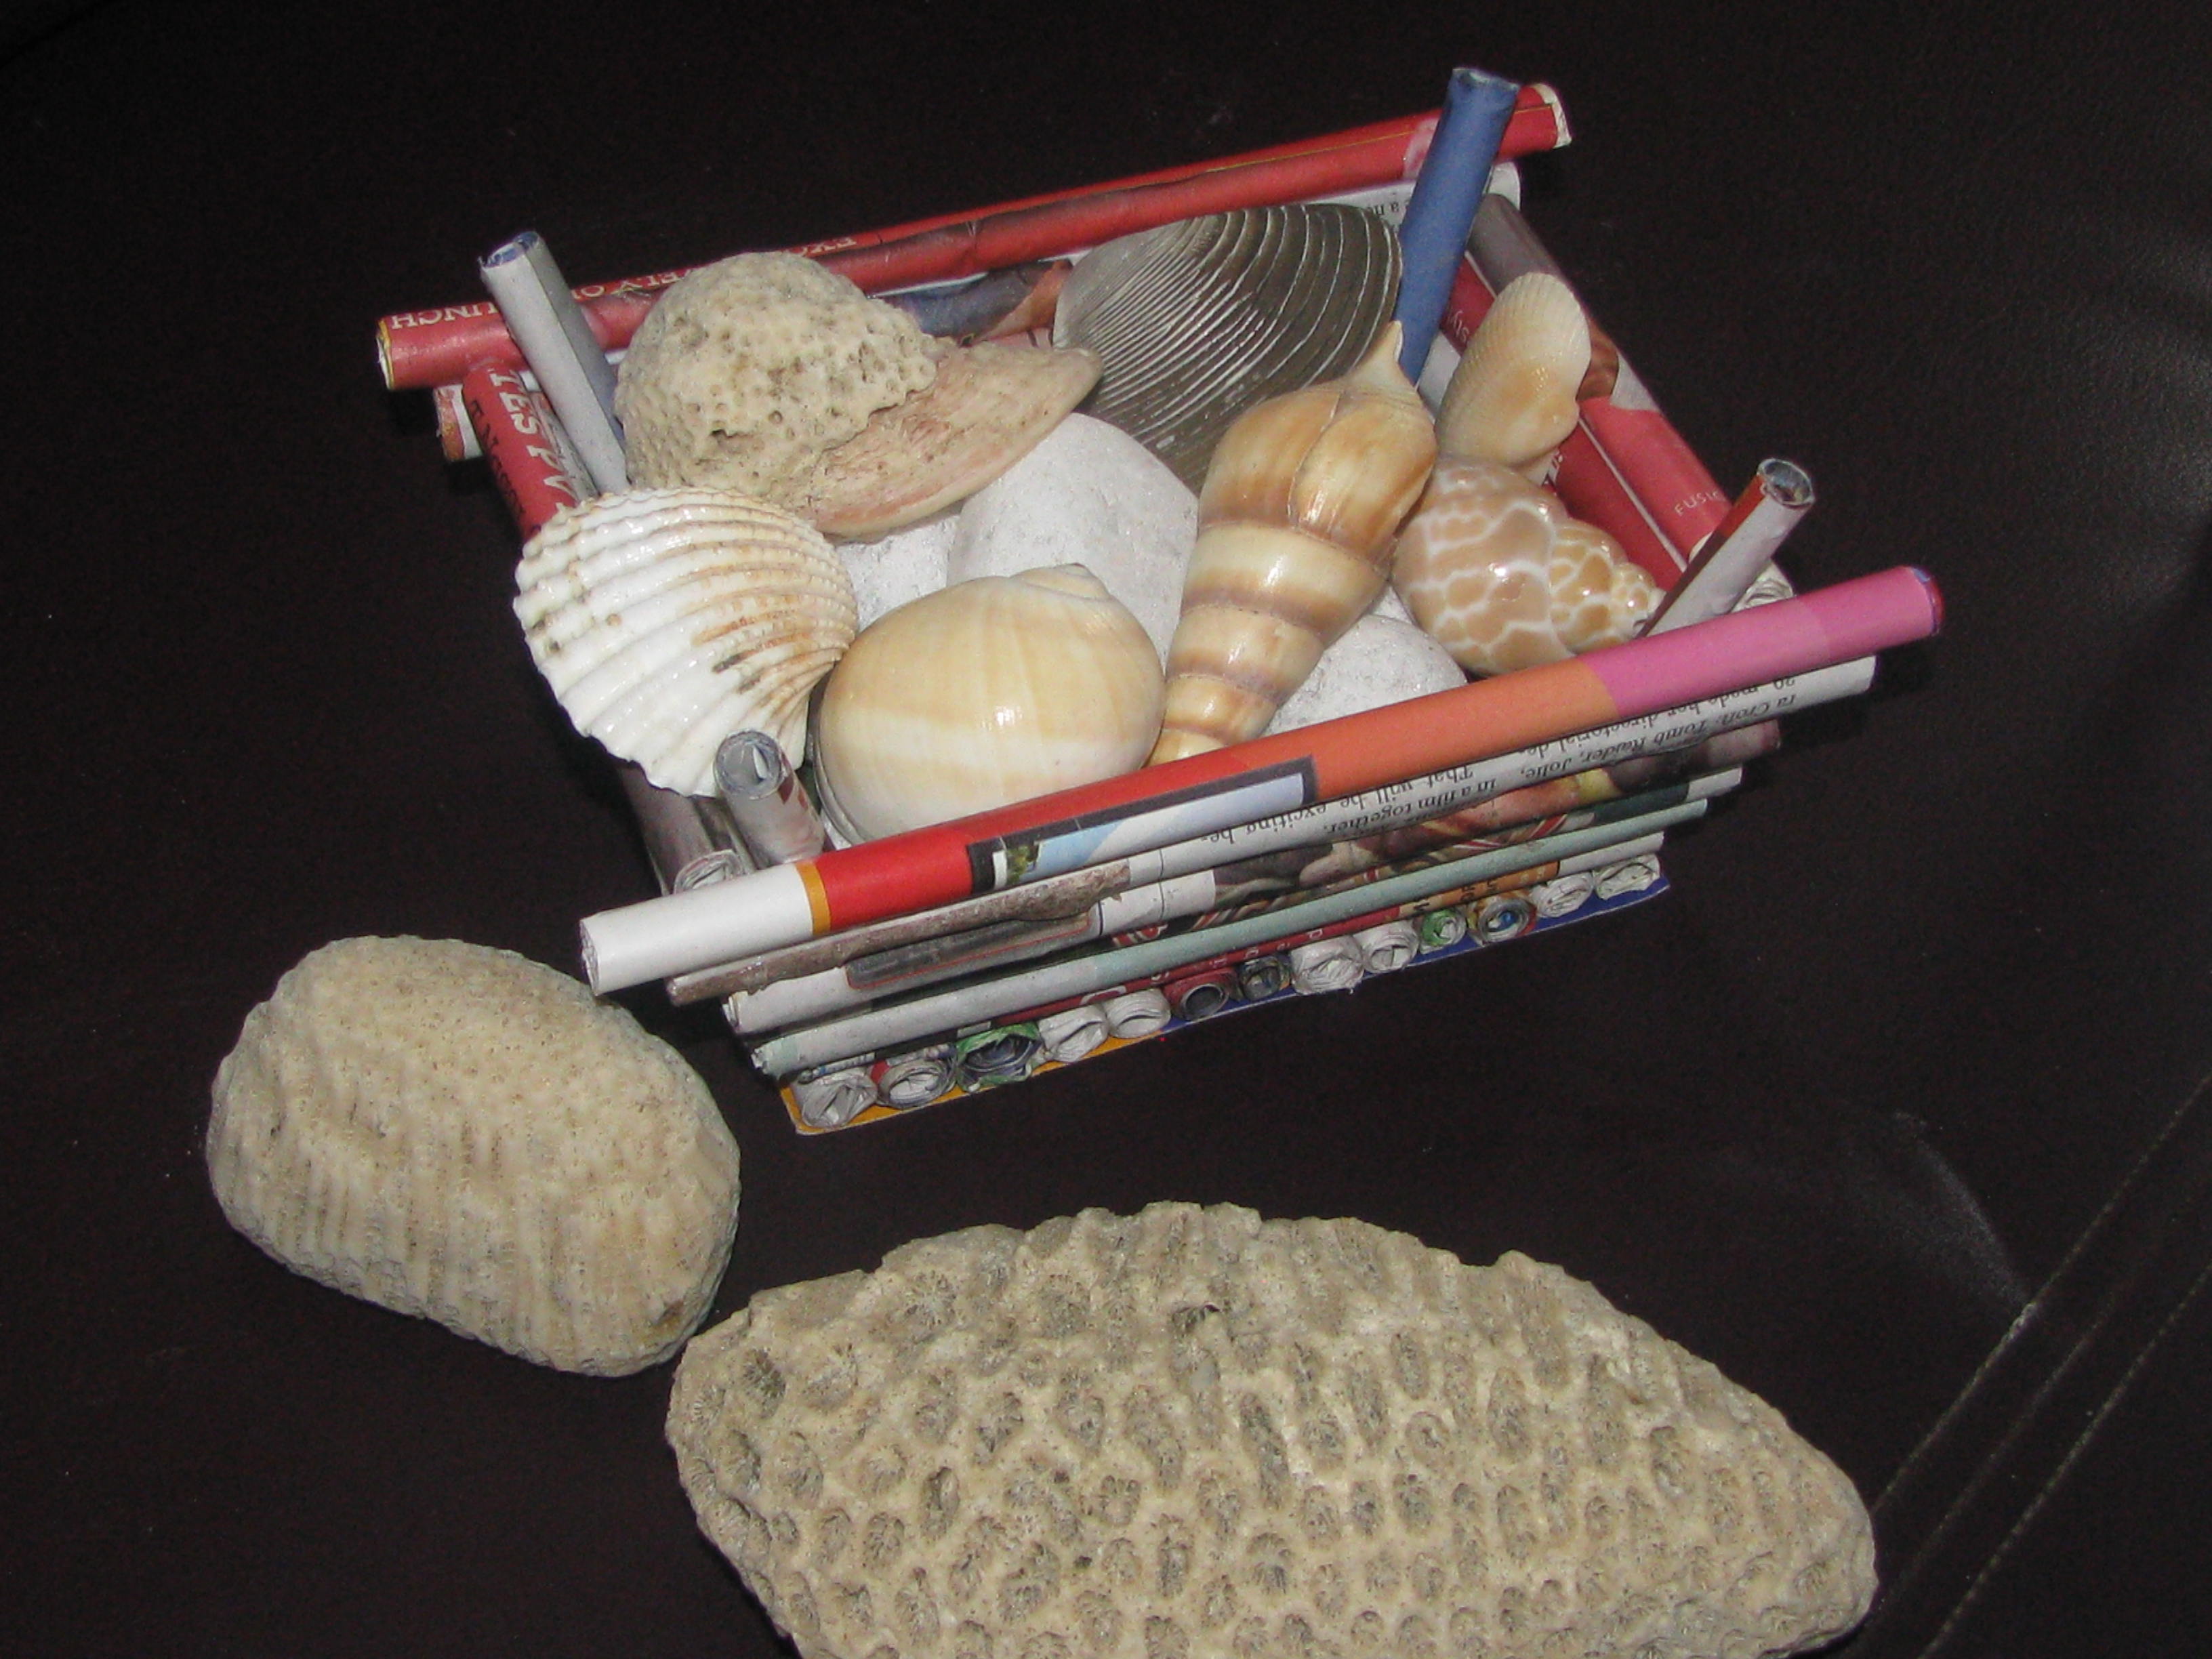
News Paper Basket filled with Sea Shells

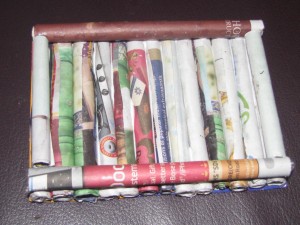
News Paper Basket!
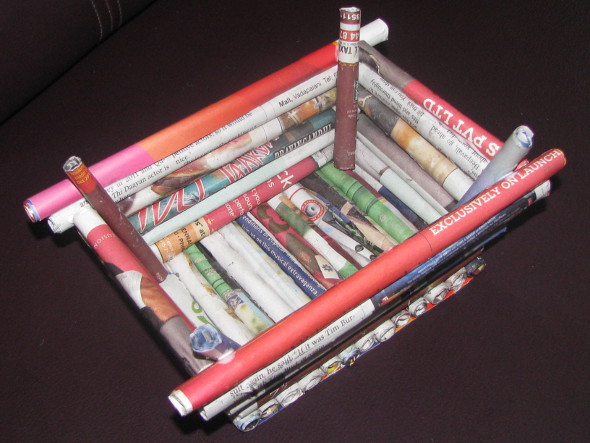
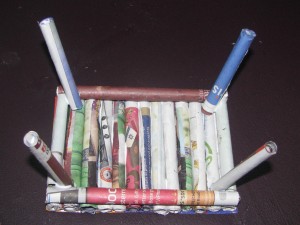
Top view of the News Paper Basket!

Side view of the basket!
Materials Required:
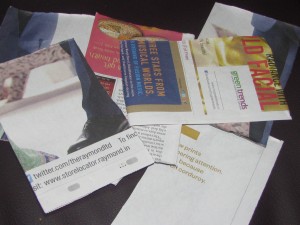
1. News Paper
2. Glue & Scissors
3. Small cardboard for the base
Steps to make this basket:e
1. Decide on the size of the basket that you want to make.
2. Cut the News Papers in to small and equal sizes of rectangular shaped pieces.
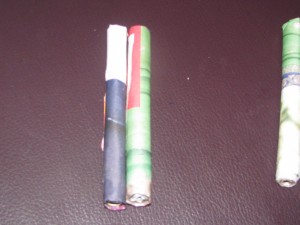
3. Roll these paper pieces slowly and tightly to form a thick paper roll by taking one paper piece at a time. After finished rolling, secure the paper ends with glue, so that it stays like that.

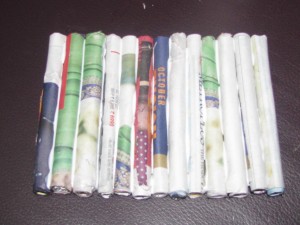
4. Make around 15 rolls like this and all these rolls should be of the same size. Take one paper roll and apply glue on one side. Now take another roll and stick it with the first. Like this you have to attach all the 15 paper rolls.
5. After pasting all the rolls, the basket will look like below. This will be the base of the basket.
6. Now take a thin cardboard, and cut it to a size of this base. Paste the cardboard to the back side of the paper roll base. I am doing this to make the base a bit firmer.

Thin Cardboard
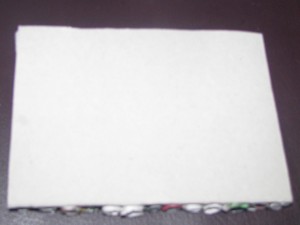
Thin Cardboard pasted on the back of the base
7. Now turn over so that cardboard is at the back. Make two paper rolls with a size equal to the length of the base and paste them on top of the base on the opposite sides just like in the image below. We will call these two rolls as Roll No 1 & Roll No 2 for the sake of simplicity and for later references.
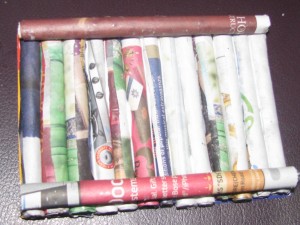
8. Measure the size of the gap between above two rolls 1 & 2 vertically and make two more rolls with a length equal to that gap. Now paste these two shorter rolls in between the longer ones on opposite sides. We will call these two shorter rolls as Roll No 3 & Roll No 4 from now on. These four rolls(1,2,3 & 4) will form the sides of the paper basket on which we will be pasting more rolls vertically to give the basket some depth.
9. Make four rolls of equal length say about 5 inches in my case. It is depend on the height of the basket that you want to make. Paste these four rolls on all four corners on the basket’s base, slightly in a slanting position. Paste one roll at a time and hold it for few minutes until it sticks to the base firmly. These four rolls should be slightly higher than the actual height of the basket. Refer the image below. From now on, we will paste more rolls around these four erect rolls to increase the height of the basket.
10. Now lets start building the walls, beginning with the longer side first i.e Roll No 1. Make one roll slightly bigger say about 1 inch more than the length of the Roll No 1. Now apply glue on top of the Roll No 1 and stick the roll we just made on top of Roll No 1 leaving equal lengths on both ends.

Like this you have to make rolls slightly bigger than the previous ones and paste them on the previous ones on all sides. Rolls will be of increasing length when we go upwards from base to top.
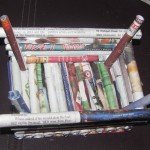


Continue this on all four sides until the desired height is reached. That is all…the news paper basket is ready…
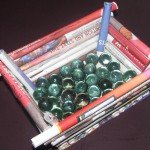
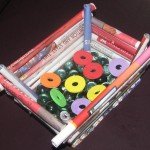
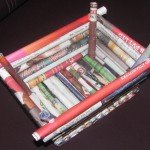
Various ways in which this basket can be used on the table…