One can make plenty of crafts using straws, it doesn’t matter whether it is a flexible (drinking straws) type or a rigid type. Play around with the straws and use your imagination, I’m sure you will end up with some nice shapes or even Polyhedrons. You can never go wrong!
Here is one such type that I’ve made with rigid type straws. In my place, this type of straw is often called as Sali or Chali or simply Straw. With this you can make various crafts like Curtains, Wall Hangings, Torans, Door Decors etc.
Model #1

Model #2
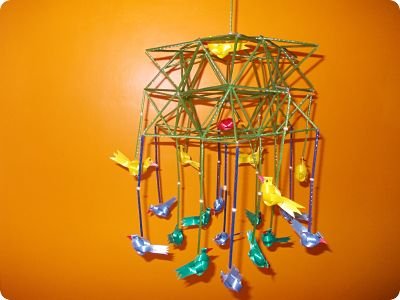
Model #3
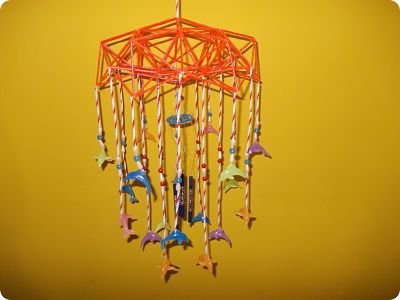
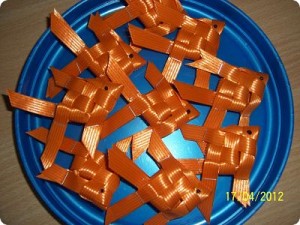
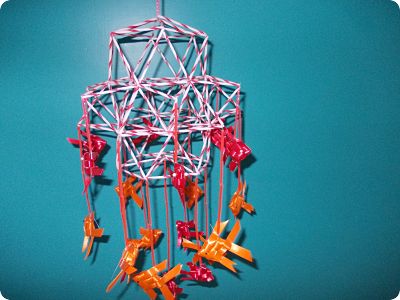
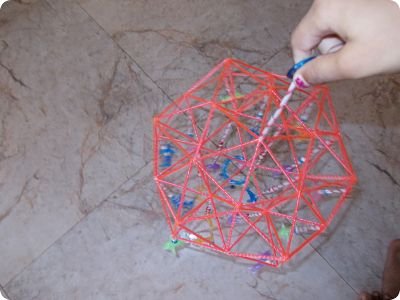
Model #1 is a home decor with fish made from Fish Tape or Mat Tape; Model #2 is a bird cage with bright colored birds made from Fish Tape or Mat Tape; Model #3 is one wind chimes with beads and plastic fish. Learn how to make a fish using fish tape/mat tape here.
All these models can be used as Crib Mobiles or Chimes or Home Decors that you can hang from your ceiling wall or you can give them as gifts to your loved ones. Learn how to make a bird using fish tape/mat tape here.
Very interesting right? Now lets see how to make one from the scratch. For our exercise, we will take model #1 as an example. the time when you complete one model, you will become an expert ready to design your own model within no time.
Materials needed:
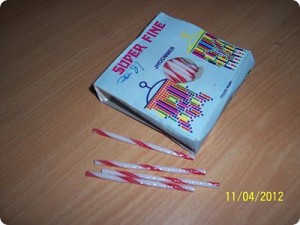
1. Sali or Plastic Straws
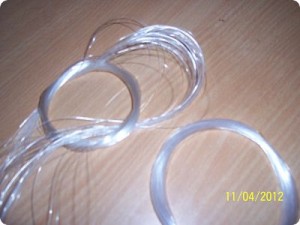
2. Nylon Wire
3. Beads of your choice
4. Fish made from Fish Tape or Mat Tape
Instructions:
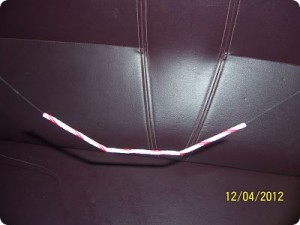
1. Take one nylon wire and insert 3 straws into it.
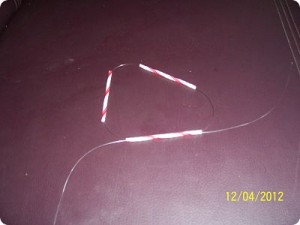
2. holding one end of the wire, and insert the other end into the first straw to form a triangle shape, make a knot to prevent the wire from coming out of the straws.
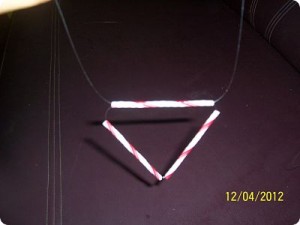
Then add 2 more straws to one corner of the triangle and insert the wire into one side of the triangle though the adjacent corner to form another triangle. Like this continue until you come to the starting point (see figure #7) where you have to add only one straw to complete a perfect Hexagon. After you have completed the hexagon, make a knot to prevent the wire from coming out of the straws.
Note: If you run out of wire, then attach another wire by tying both old and new wire ends together.
See below for better clarity.
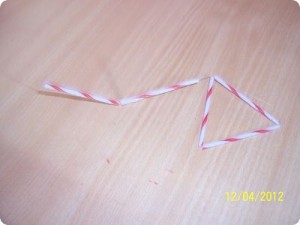
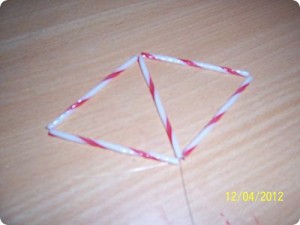
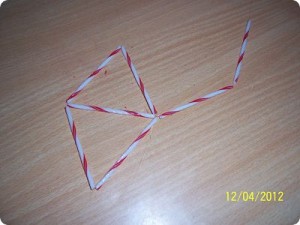
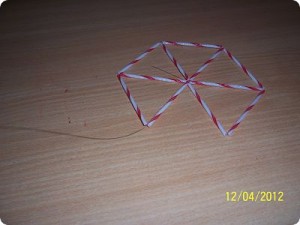
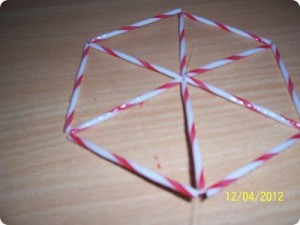
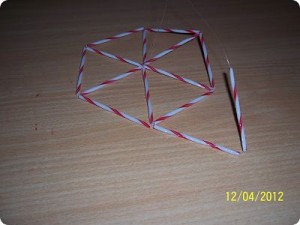
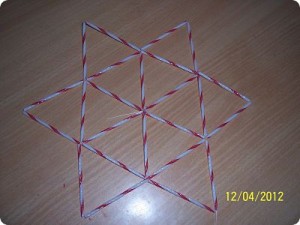
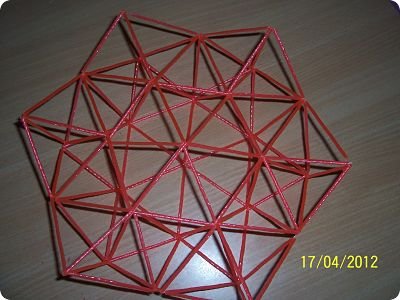
3. Now it is time to make a star out of this Hexagon. Add 2 straws to one of the outer side of the hexagon and insert the wire into the same side entering from and through other end of the side. Do this for the remaining 5 sides of the hexagon. Now you will get a nice star. Like this you have to make 4 stars in total to make the Model #1. See the picture.
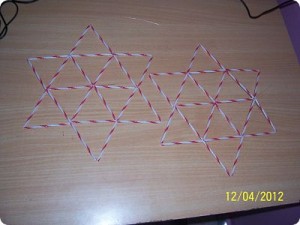
4. Here comes the tough part i.e joining all 4 stars together. To start with, first place one star on the workbench. Now place another star above the first star and arrange its edges are exactly lying between edges of the first star. See the picture.
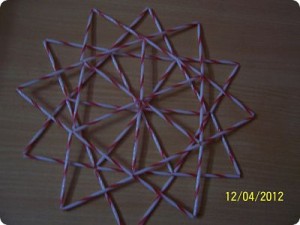
5. Now fold one edge of the second(top star) star so that it touches the point where 2 edges of the first(bottom star) star meets. i.e where 2 sides of the hexagon meets. Now insert the string from second star’s edge through this point and pull out the wire from the other side of the hexagon. Now fold the next edge of the top star and insert the wire through it until it reaches the next point between two sides of the bottom hexagon. Likewise attach all the six edges of the top star to six points between sides of the bottom hexagon.
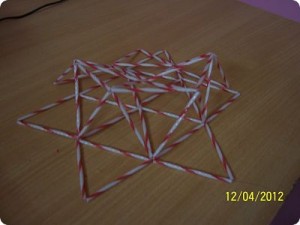
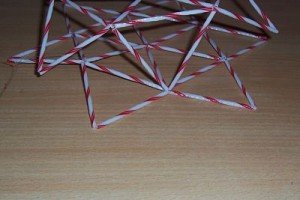
After completing the above step, you will have one hexagon sitting on top of the bottom star like in the figure below.
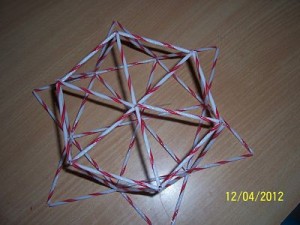
6. Add one straw to the wire which now must be at one corner of the top hexagon. Bring down the straw and attach it to star’s edge below it. This will look like a pyramid.
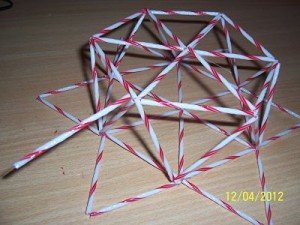
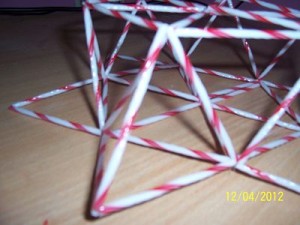
Complete this step for remaining 5 edges of the star.
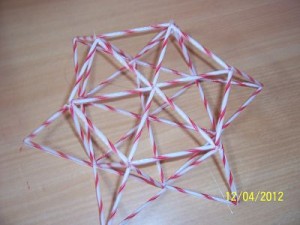
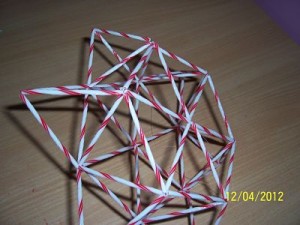
7. Now locate the triangle in between any 2 pyramids, make one pyramid by adding 3 straws.
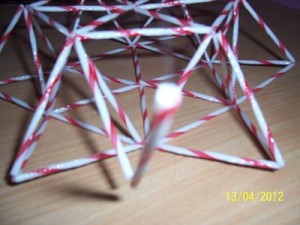
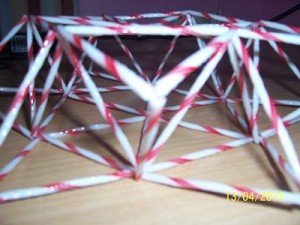
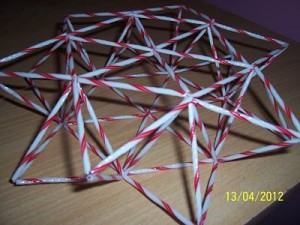
Repeat the same for rest of the triangles, and after completing this you will have 12 pyramids.
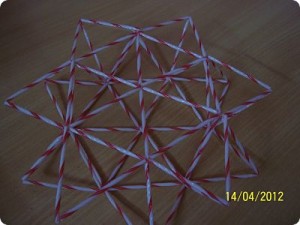
8. Now you have connected only 2 stars and you will be having 2 more stars. Take one star and attach it to the top of above finished by following the Step #5.
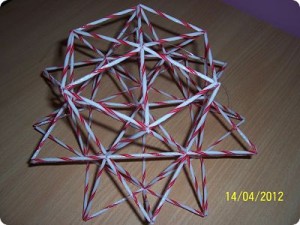
9. Similarly join the 4th star to the bottom of the above using the step #5. Now the structure is complete.
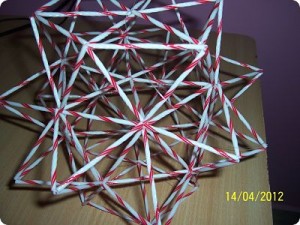
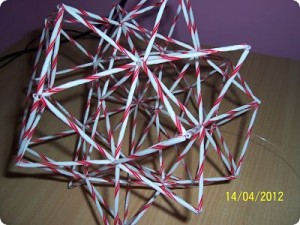
10. Now comes the fun part. Hanging your favorite beads any charms from all corners. In the first model, I’ve added few straws, and fishes to these corners. In the next post I’ll show you how you can make this fish.
11. In model #2, I’ve attached two pyramid stars one on top of the other and added few birds to make it look like a birds cage.

12. In model #3, I opted for a different design and added few accessories from an old wind chimes which had it in my store room.

That is it for today! Enjoy 🙂


Madam,
this is an excellent work! I will definitely try this one. Your instructions are easier to follow, than attending craft classes!!
this is too good….what other things can be done using sali?
I like your make birds and fish also and every thing.
this is so nice.