Plastic canvas and wool always make a perfect choice for making simple and wonderful crafts. Plastic canvases are available in many patterns/sizes and you can use this plastic canvases to make purses, boxes, alphabets or any wall hanging. You can buy a pattern from the choices available in the market or you can make one of your favorite pattern by cutting it out of a plastic canvas sheet.
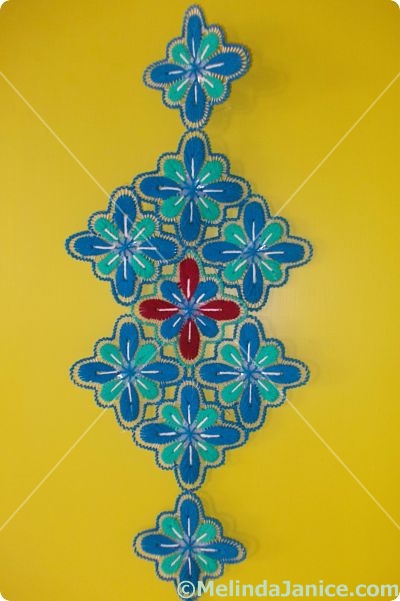
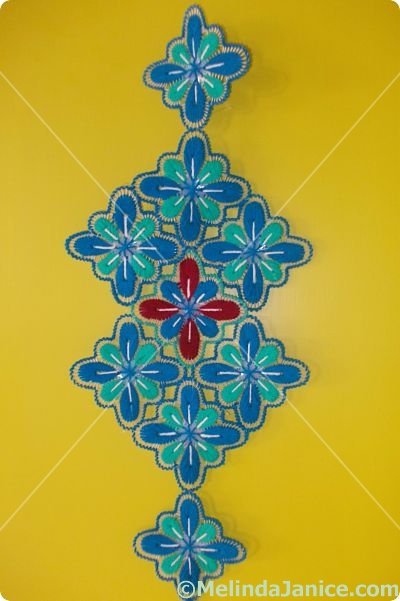
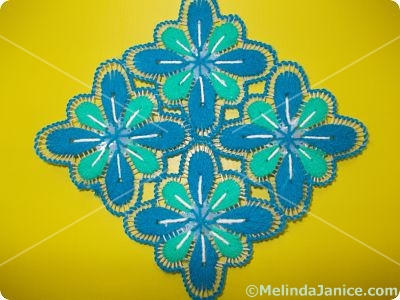
For today’s post, I have used a Flower Canvas which is often called as a Butterfly Plate in my place. Here is the quick look at the finished wall hangings.
Model #1:
Model #2:
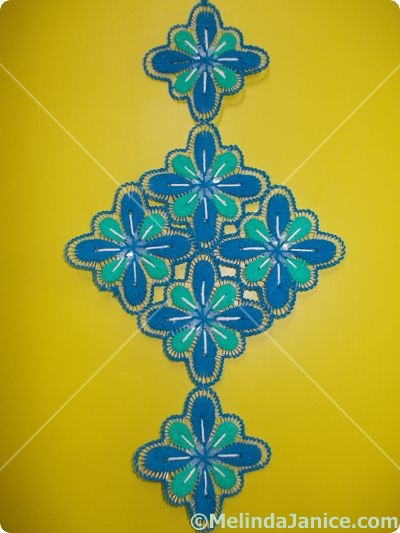
Depending upon the design of your wall hanging, you may require few or more canvases. In my case, as you can see, I have used 9 canvases for the model #1 and only six canvases for the model #2. Often these wall hangings are made in pairs, so that each can be hung from each side of the wall or any door or entrance.
Materials used:
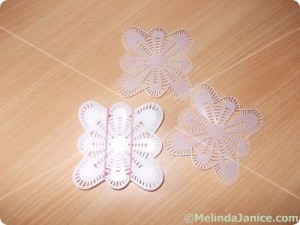
1. Flower canvases or Butterfly Plates
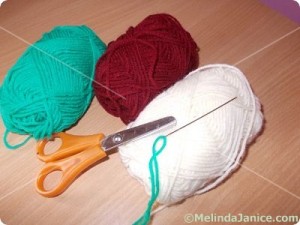
2. Wool
3. Needle
4. Nylon beading thread or wire for tying these canvases together
Instructions:
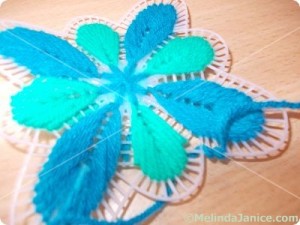
1. When you have a close look at the canvas , you will notice there are 8 petals; 4 small and 4 large (That’s how I imagine) and lots of holes around each of these petals in one canvas. We are going to make use of these holes around these petals to cover them with colored wool. Starting from one point, take your favorite color wool, start sewing like you do satin stitches very closely, leaving no holes in between on your way. In this way, you can cover a lot of ground quickly. In the picture below, I’m doing my stitches on one small petal using a green colored wool.
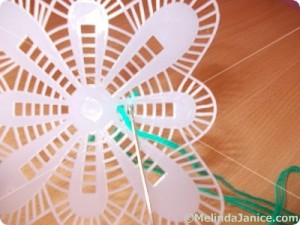
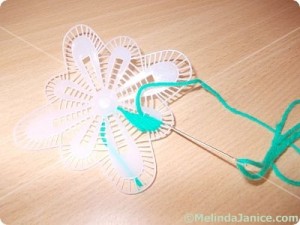
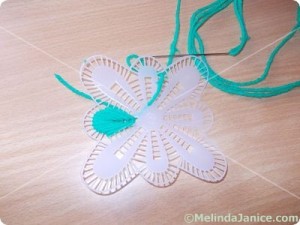
2. After completing one small petal, jump to the next small petal to keep the uniformity. Complete all the remaining small petals likewise. Tie the loose ends at the back and secure them after trimming the extra lengths.
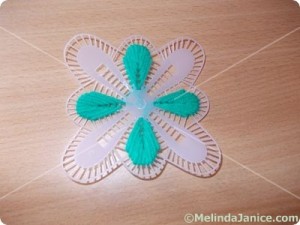
3. Now it’s time to fill the large petals by taking another one of your favorite colored wool.
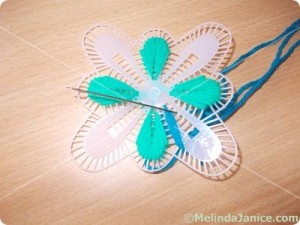
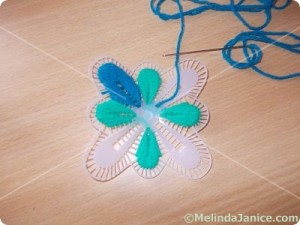
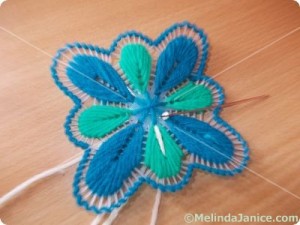
4. When you have completed all the eight petals, the canvas will look like the following. Also don’t forget to add a little detail at the center. It’s up to you whether to add few straight stitches in a criss-cross fashion or you can paste a button or even a shiny bead at the center.
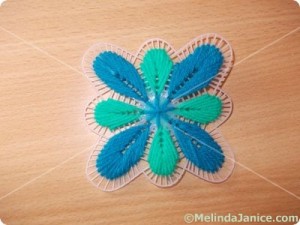
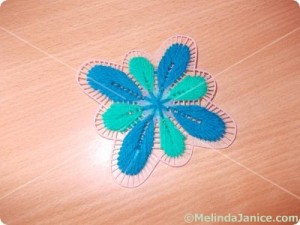
5. Now for the finishing touch, add a whip stitch around the edges with a color of your choice. Add a straight stitch at the center of each petal using a cream colored wool.
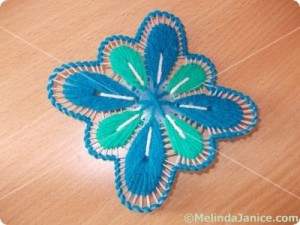
6. With this you are finishing your first canvas. You need to make more of these canvases, the number being dependent on the style and pattern you choose for your wall hanging. You can even experiment with different colors of wool and and pattern.
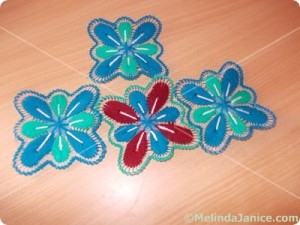
7. After making enough canvases, start tying these together at the back with the help of nylon beading thread.
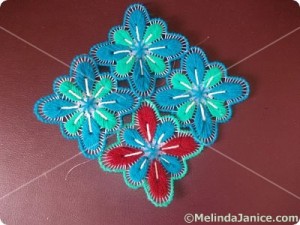
8. Mix -n- match your canvases and tie them at the right places and you will end up with a beautiful wall hanging at your hands.
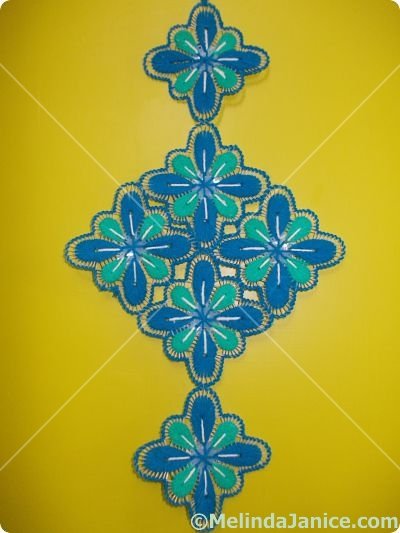
Enjoy :)!


really superb.
Hi,
I think what I have used here is a diamond shaped canvas … If you have a different one, please send me the picture of the canvas.