Bird’s nest is one among the many basic project models given to school kids. Here I am sharing one such simple bird’s nest model with an easy to follow instructions.
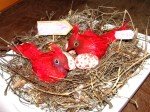
Here is the completed Bird’s Nest Model:
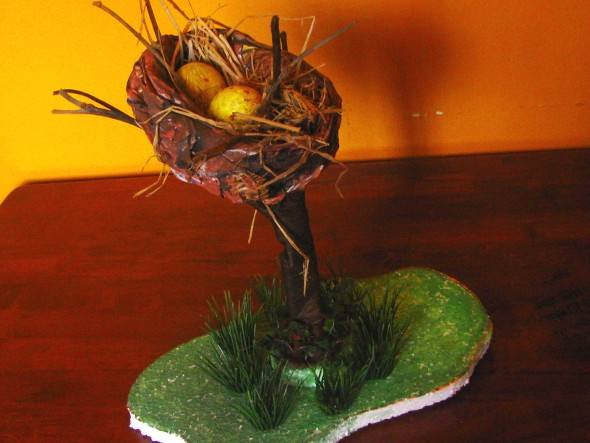
Bird’s Nest on a Tree Branch
You can view the YouTube Video of the completed Nest below:
Like it? Read on to know how it is done!
Note: If you feel it is too lengthy to read, then scroll to the bottom of this post to watch the steps on the YouTube Video.
Below is the required materials list.
a. Small thin Card board (Size: 12X10 inches approximately); Cereal box cover would be perfect for thickness.
b. Twigs, hay, dry grass, sticks whatever you can collect to give the Bird’s Nest a natural appeal.
c. Newspaper
d. Glue, Scissor, Stapler, Thread, Ruler, Marker, Poster Colors – the regular stuff
e. Brown Tape or Green Tape (Flower making) – You can get it in all craft stores.
f. Eggs or Plastic Easter eggs
g. Artificial Grass & Stones – optional
Instructions:
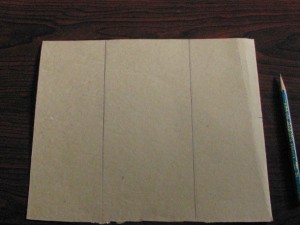
1. Place the thin card board sheet on the workbench. Draw two vertical lines to divide the cardboard into three (approx) equal parts or make the middle one little wider than the other two on each side as I did it in the image shown below.
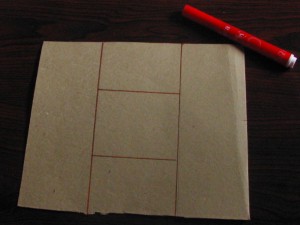
2. Draw two horizontal lines to form a square or a rectangle at the center. It depends on how you divide the sheet and how you want your nest to look like.
3. Cut along the markings, leaving the square at the center untouched as shown below. Repeat this on the other side. Fold these two flaps upwards.

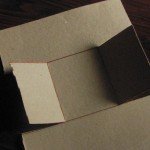
4. Bring the sides together to form a cup and staple it as shown below. Repeat this for the other side too.

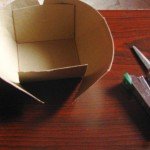
-

- Now the Card Board looks like a bowl.
-

- Side View
-

- Bottom View
5. Mark the extra card board and cut it out to make the edges even.


6. Instead of card board, you can use thermocol bowl for the nest. this way you can avoid doing all the above steps. But the nest will be in round shape instead of an elliptical shape. Its up to whether to use thermocol bowl or card board.
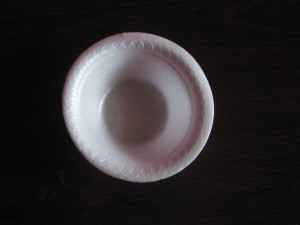
Thermocol Bowl
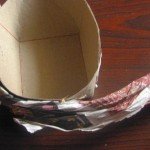
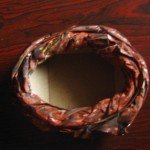
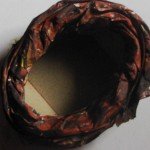
7. Roll newspapers and twist them. Now paste these rolls on the card board bowl on the outside. Paste the newspaper rolls on inner edge of the bowl too.


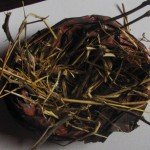
8. Paint the newspapers, brown. Add black color here and there. Also paint with black inside the nest leaving the top rim. Add twigs, hay, dry grass etc. to the bowl.

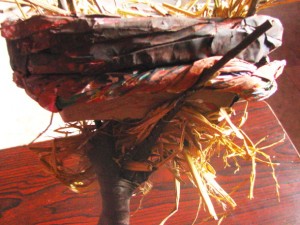
9. Collect few twigs or sticks and tie them to form a branch big enough to hold this nest. If you could find a real branch small enough to hold the nest, then it will this much easier. Wrap the finished branch with brown or green tape. If no tape available, wrap a tissue paper around the branch and paint the branch with brown.


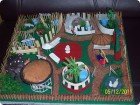
10. Make two or more holes,at the bottom of the nest. Place the nest on the branch by inserting the twigs through the holes.
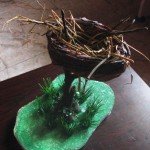
11. For base, draw a some shape on the thermocol and cut it out. Paint the base and fix the branch by inserting it in the center of the base. Add glue to make it stand firmly. As you can see, I have added an extra thermocol piece to give some height to the base, so that the tree branch can be inserted halfway. Add grass, rocks etc. to the base.


12. To make the eggs, empty the contents of two eggs by piercing small holes, clean and seal the holes with a tape. Paint the eggs. Place the eggs in the nest. Alternatively, if you have plastic eggs, then paint and add them to the nest. Very easy.


With the addition of eggs, we are completing this nest.
You can watch these steps in YouTube Video below, if you really want to wrap things up quickly.
brilliant idea……it is really very easy to make. it really helped me.
It is the great nest and children can make it easily
Thanks Manoj Kumar!
Very nice and easy to make….thank u